

While there’s nothing more thrilling than getting your new TV into your home, the worst part is that you likely don’t realize that the setup is as important as the model itself. A few choice placement and application tweaks over an hour can be the difference between a lackluster and an incredible experience.
The good news? None of these fixes is rocket science. You don’t have to be a home theater whiz or pore over two hundred pages of a TV installation manual. A few smart decisions can ensure your weekend movie nights and daily news watching will be all they were meant to be!
The Ideal Distance To Sit From the Screen
Everyone thinks bigger is always better, but when you get a new TV, one of the most surprising considerations is the size of the screen relative to where you’ll be sitting. If you’re sitting too close to your massive television, you’ll strain your eyes to see everything and if you’re too far away, you’ll miss all the nuances on your screen and forget why you upgraded anyway.
Relative screen size vs. distance to where you’ll be sitting has changed considerably over the years, too. In the past, you were encouraged to watch relatively smaller screens from a far distance with lower quality pixels. If you sat too close, you’d see pixels without clarity which needed to happen in order for you to infer screen size. Well, now, we’ve moved into 4K televisions. The closer you sit, the more pixels can create a cohesive picture and support larger television sizes in smaller spaces.
Therefore it’s not practical to assume anything off the top of your head. A tv size to distance calculator does the math for you based on the screen size and resolution which is important before you mount the TV or move around your furniture!
Most people eyeball it and end up either cramped or squinting. Taking five minutes to measure properly saves weeks of subconscious discomfort every time you watch something.
Picture Settings You Should Be Adjusting
Your TV comes with factory settings. However, those were designed for a bright show room floor, not your living room. That ultra-bright picture is oversaturated; it will grab attention for a moment, but after an hour, it will put your eyes to sleep.
The first setting you should adjust is picture mode. Most TVs have predefined settings: Vivid, Standard, Movie, or Cinema. In almost every case, Vivid is going to be too intense for the standard home. Movie or Cinema modes tend to boast more natural colors with better contrast.
Most people confuse brightness and backlight. Backlight measures how bright the screen is while brightness adjusts the image black levels. For backlight, adjust it relative to how dark or light your room is. In a dark room, there is no reason you shouldn’t be able to see the TV, nor should there be so much intensity that you’re squinting in a well-lit room.
Motion smoothing is where people get annoyed because they think they’re seeing high quality images but “The soap opera effect” happens when you watch something shot at 24fps (most everything for film and web) but smoothed out for additional frames. This gives it a weirdly artificial quality making many people want it off most of the time.
Placement Relative To Mounting Or Furniture
While wall mounting looks neat and clean and saves space on the floor, one of the most critical considerations is height—not everyone realizes that eye level relative to sitting versus standing is not helpful. Walk into any home and the TV is set above a fireplace two feet over where everyone consistently has to crane their neck for hours on end.
If you’re mounting it, make sure you buy a tilting (or articulating) mount versus a fixed one. This offers some wiggle room adjustment after-the-fact because it’s hard to determine how angle will work until it’s mounted.
In addition, should you go with a TV stand, make sure it’s stable. Newer large-screen TVs are surprisingly top heavy and tip over incidents happen more than you’d imagine where kids or pets are concerned. The stand either has to be wide enough/heavy enough or the stand needs safety straps that secure into the wall.
Audio Setup Nobody Talks About
While built-in TV speakers have gotten better, they’re still just okay—and that’s if your TV isn’t super thin like many are today. While you don’t need surround sound to make a difference, you can get a sound bar that will make dialogue easier to hear/depth—and there’s not much setup unless it’s placed directly above/below the screen with one wire connection.
People spend too much time comparing high-quality surround sound systems and never get around to upgrading—the sound bar is simple enough that it’s worth avoiding subpar factory audio.
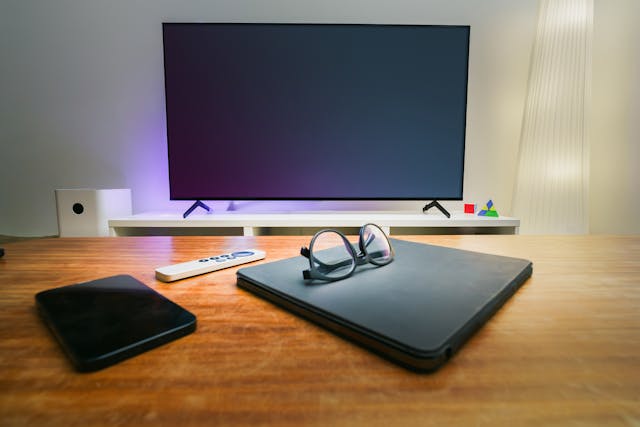
Cable Management and Connections
This sounds like a small detail until you’re standing on your couch looking at wires draping down your wall as an eyesore (or something you don’t want people spotting). Cable management channels are easier to install than hiding cables in walls. And sometimes all it takes is some zip ties with creative furniture placement to make your setup look finished.
Furthermore, when you’re connecting HDMI cables, most people assume any old HDMI cable works but it does matter—no one wants cheap cables from companies they’ve never heard of that cause handshake issues or support lower bandwidth than needed for 4K content. Mid-range certified cables get the job done without breaking the bank.
Getting It Right From the Start
The best setup is one you’ll enjoy day after day without thinking about how uncomfortable it could have been. The best angles for seeing the screen adjustment; easy access to all connected devices; nothing straining your eyes over long periods of time.
Therefore take the time to fine-tune things from their factory settings based on where you’ve placed them within your area; measure twice before you drill holes; test options out before settling on one design or another. It only takes an upfront investment of time while getting it right that’s going to pay off in thousands of hours of better setups ahead!